
Key Takeaways
- Vent pipe boot failures are the most common source of mystery leaks in Tolland homes, often bypassing shingles entirely.
- The 'caulk trap'—using roofing cement instead of proper replacement—can turn a $250 repair into an $800 project.
- Connecticut's freeze-thaw cycles cause rubber boots to lose elasticity and crack, requiring regular inspection.
- Proper installation with high-quality materials like lead or silicone boots can prevent leaks for decades.
The February Thaw Warning
If you've spent any time driving through the neighborhoods near Crandall Park or the historic stretches of Tolland Green, you'll notice a beautiful variety of Capes and Colonials. These homes have character, but they also have something else in common: plumbing stacks poking through the roof. Those little pipes are essential for your home's drainage, but the rubber "boots" sealing them are often the weakest link in your entire exterior. In my years of looking at Connecticut rooflines, I've found that homeowners worry about massive storm damage, but they frequently overlook the tiny rubber ring that's currently baking, freezing, and cracking right above their heads.
The rubber seal reality in Tolland County
The reality is that most standard vent pipe boots are made of a mid-grade plastic and neoprene. In our corner of New England, these materials are put through the wringer. One day it's a humid July afternoon, and the next it's a sub-zero February night. This constant expansion and contraction cause the rubber to lose its elasticity. (I once saw a boot in a 10-year-old Tolland home that literally crumbled like a dry cookie when I touched it.)
When that seal fails, water doesn't just sit on the roof; it follows the pipe straight down. It bypasses your shingles entirely. This is why you might see a water spot on your bathroom ceiling even if your roof looks "fine" from the driveway. We often think of roof repairs as massive undertakings, but staying ahead of these seals is just smart maintenance. If you're starting to wonder if your whole roof is at risk, budgeting for a bigger project can help you see if a simple repair or a full update makes more sense for your specific home.
The $800 "Quick Fix" mistake you need to avoid
Here is the thing: many people see a crack in their vent boot and reach for a tube of roofing cement or silicone. This is the mistake I see most often in Tolland. I call it the "caulk trap." You climb up there (or hire a "handyman" to do it), slop some black goo over the crack, and call it a day. It looks fixed. It might even hold for three months.
But Connecticut winters are unforgiving. That caulk isn't designed to bridge the gap of a structural failure in the rubber. Eventually, the caulk pulls away, creates a pocket, and actually *traps* water against the pipe. What could have been a $250 professional repair suddenly turns into an $800 project because now the plywood underneath has rotted, and the drywall inside needs to be cut out and replaced. According to International Code Council regulations, flashing must be installed in a way that is weather-tight, and "goo" rarely meets that standard for long.
Spotting the signs before the ceiling drips
You don't always need to get on a ladder to know you have a problem. I tell my neighbors to do a "ceiling patrol" every spring and fall. Look specifically at the areas around your bathroom fans or the vertical line where your main plumbing stack runs. If you see paint that looks like it's bubbling or a faint yellow ring, that's your vent boot waving a red flag.
Another trick? Head into your attic during a heavy rain with a flashlight. (Be careful where you step!) Follow the PVC pipe up to where it meets the roof deck. If the wood around that pipe looks dark or damp, you've caught the problem early. Catching it now means you can avoid calling for emergency roofing help in Tolland when the next big Nor'easter rolls through and turns that damp spot into a steady stream.
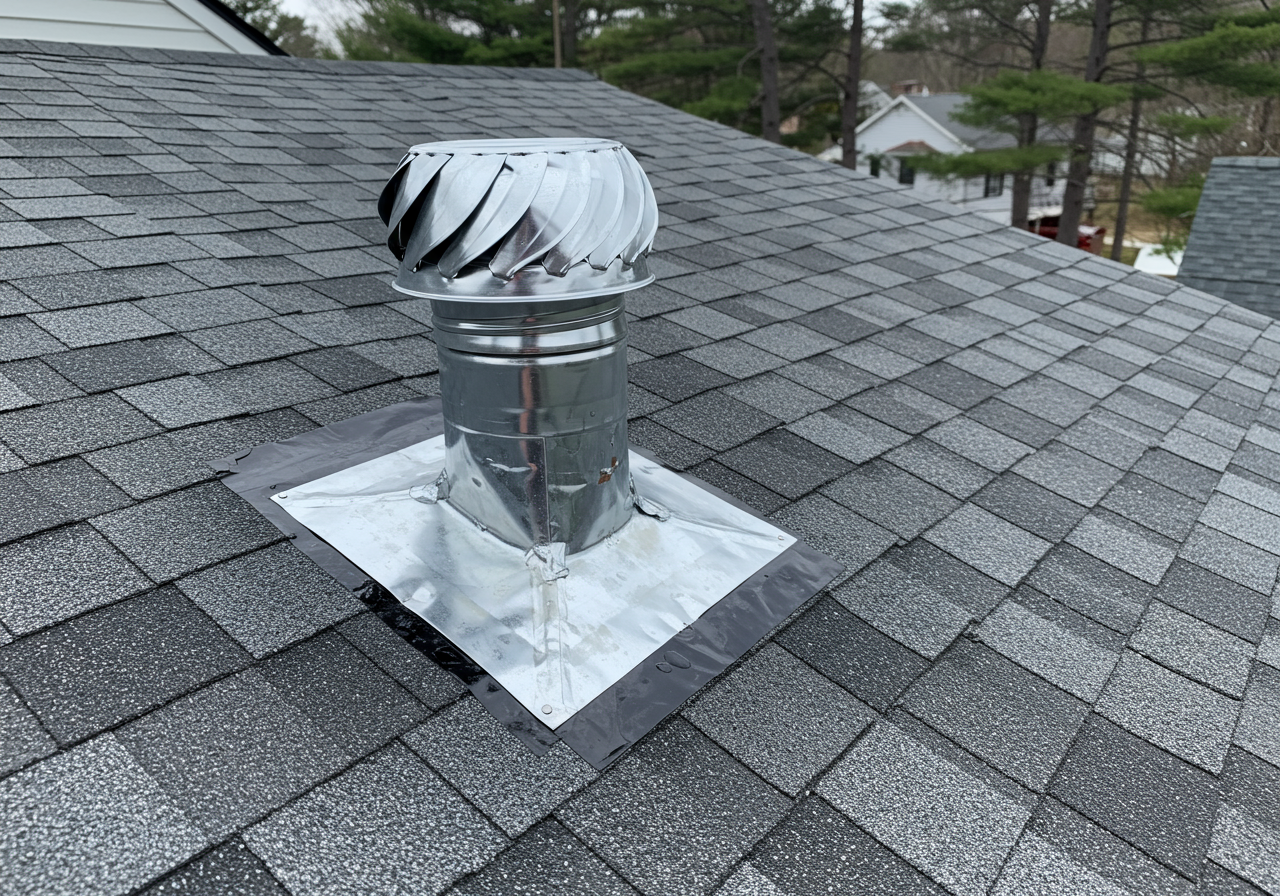
A cracked rubber vent pipe boot on a shingle roof showing signs of weather wear
A typical failed neoprene boot. Notice the 'alligatoring' cracks—this is a prime entry point for water.
Choosing the right materials for a Tolland winter
When it comes to replacement, not all boots are created equal. You have options, and as someone who cares about both the "bones" and the "beauty" of a house, I always lean toward durability. Standard plastic-based boots are cheap, but they are the reason we're having this conversation in the first place.
Expected Lifespan of Vent Boot Materials
I'm a big fan of lead boots for our area. They are old-school, sure, but they don't crack. They are malleable, so they mold to the pipe, and squirrels (who strangely love to chew on plastic roof parts in Tolland County) tend to leave them alone. If you're going for a more modern look, there are high-end silicone options that stay flexible even when it's bone-chillingly cold. While a simple boot repair doesn't qualify for federal breaks, if this leak is the final straw for your 20-year-old shingles, you'll want to check the IRS Form 5695 instructions for potential energy efficiency credits on a full replacement.
The professional way to seal a roof pipe
If you're a DIYer, you might be tempted to just slide a new boot over the old one. Please don't. A proper repair involves "surgical" precision. You have to carefully loosen the shingles around the pipe, remove the old, failing boot, and slide the new one into place so the top flange is *under* the shingles and the bottom is *over* them. This creates a natural water shed.
Loosen the shingles
Loosen the shingles surrounding the pipe using a flat bar, taking care not to tear the cold, brittle asphalt.
Remove the old boot
Remove the old nails and the failed rubber/plastic boot entirely.
Inspect the roof deck
Inspect the roof deck (plywood) for rot; replace any soft wood if necessary.
Install the new boot
Install the new boot, integrated into the shingle pattern so water flows over the material.
Seal the nail heads
Seal the nail heads with a high-grade roofing sealant (one that's UV-rated) to prevent 'nail pops' later.
Properly integrating the boot ensures your roof remains a cohesive system. This is a key part of what Energy Star guides on cool roofing refer to as maintaining the envelope of the home. If the seal is broken, your attic's temperature and moisture levels go haywire, which can lead to mold or even ice dams.
Finding a contractor who values the small stuff
It can be hard to get a big roofing company to show up for "just a vent boot." Many pros are looking for the $15,000 replacement jobs, not the $300 repairs. This is where many Tolland homeowners get frustrated. You leave three voicemails and get zero callbacks.
"The health of your roof isn't just about the shingles; it's about the penetrations. A contractor who takes the time to properly flash a 3-inch pipe is a contractor you can trust with your whole house."
The key is how we pair you with local pros who actually value repair work. You want someone who understands that a small repair today often leads to a loyal customer when it's time for a full replacement in five years. Don't settle for the "guy with a ladder" who just wants to slap some tar on it. Ask for a specialist who will show you a photo of the finished, integrated flashing. Your ceiling (and your wallet) will thank you.
Get Your Free Roof Quote
Enter your zip code to get started
In conclusion, that little pipe on your roof might seem insignificant, but its seal is a major player in your home's defense system. Don't ignore the yellow spots on the ceiling or the "good enough" caulk fix. Take the time to do it right—use high-quality materials like lead or silicone, and ensure the shingles are properly layered.
By staying proactive, you keep your Tolland home beautiful, dry, and ready for whatever the Connecticut sky throws at it. If you're unsure about the state of your roof's boots, it's always worth getting a professional look before the next storm season.